FL Studio Mastering
Never do mastering in the same file you did your mixing in. Render a .wav file, insert it into a new fl studio project file and let’s start mastering. Our end goal will be to fix the dynamic range & the tonal imbalance.
Is there enough headroom?
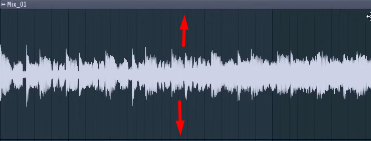
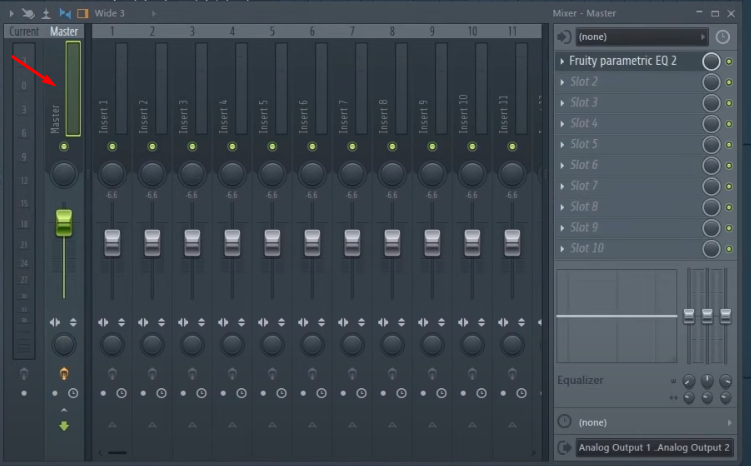
This is where we take advantage of the dB’s wet cut in the mixing tutorial. If your mix did not create enough headroom you will need to go back to your mixing file and reduce the mixer by a few dB’s.
Another thing to make note of is that all plugins we will load will be in the master chain of the mixer.
Alert: Imagine Line can track down illegal FL Studio accounts. Buy an original copy below (affiliate link)
Insert your first EQ
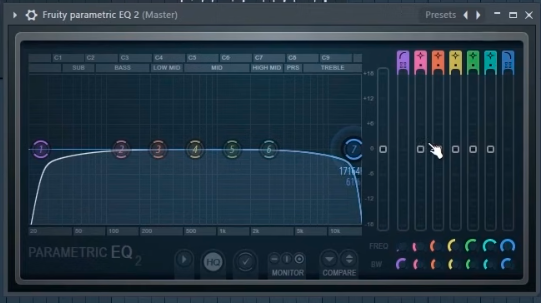
Perform Low pass and high pass cuts with high steeps as told in the eq tutorial.
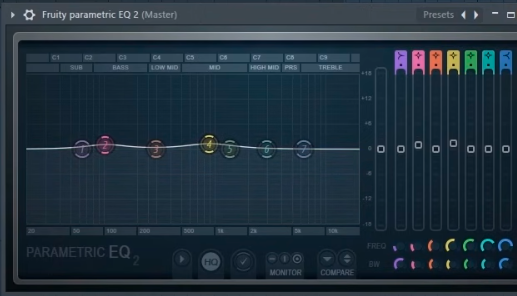
Insert your second EQ to start fixing the Tonal imbalance
DO NOT PUSH THE NOBS IN THE MIDDLE BY TOO MUCH!
I had to give you this warning in all caps because that is the biggest mistake most people make. We do not want you to mess up your mix. If you see any audio engineer increasing the mid frequencies in your master by too much tell them to give you your money back and go to some other engineer instead.
Let’s add Maximus Multiband Maximizer
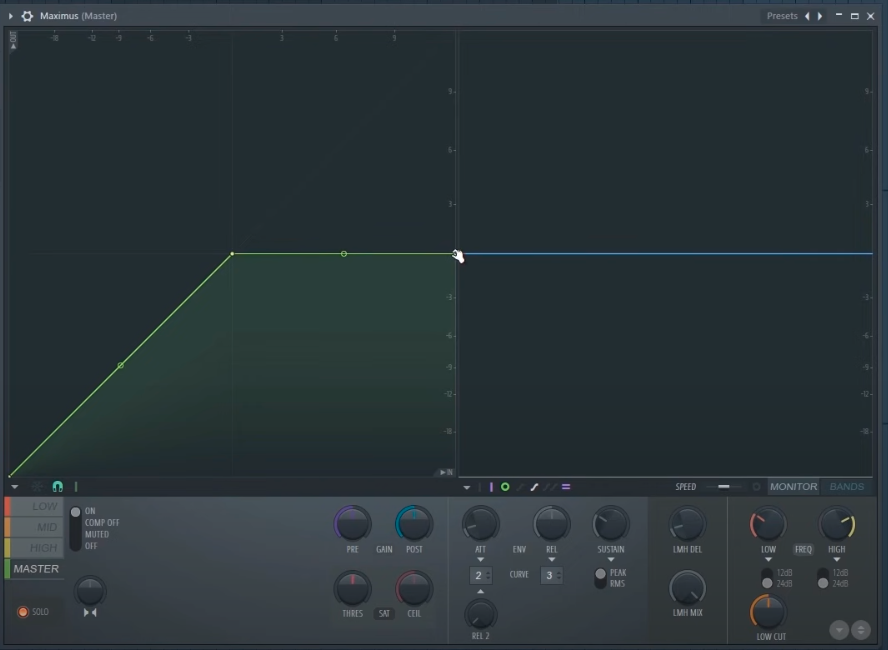
We use this plugin to push the low’s, mid’s & high’s up or down and fix the tonal imbalance even more. Sometimes when you hear your track at the end you will feel like the bass is not hard enough, my piano is not coming out enough or my vocals are too low this is where you tell those frequencies to come up or push them down.
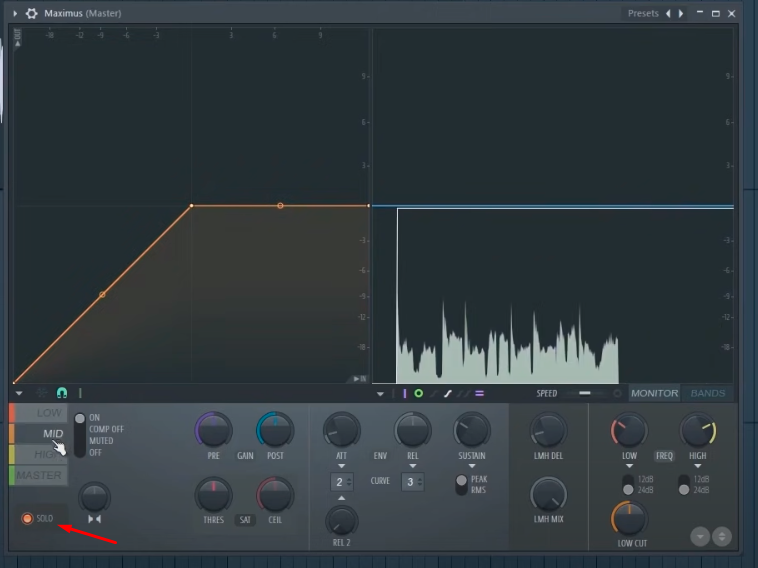
Just enable solo and listen to the low, mid, high and master section once of your song to really hear where different sounds are living in your track before you decide to change anything or add any values.

Use the stereo separation icon above to mono or stereo frequencies. Sometimes when two frequencies are clashing in the master stereo them a little can improve the end product by a lot. Remember this is not panning, if you stereo the same amount to left or right the sound will come from both ends and will get wider.

Use the pre-gain above to increase your low, mid, high frequencies
(Optional) Use Ozone iZotope
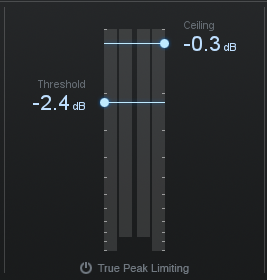
You can do all the above activities in iZotope alone but as I showed you above you can do them with no additional cost with stock plugins. But Ozone has one section that I find very helpful i.e the Maximizer section. Which contains two things a ceiling and a threshold.
By adjusting a -0.3dB ceiling you can listen to your master and adjust the threshold. Your goal would be to adjust your threshold in a way that makes the master loud without messing up the dynamics or components of your song. You want it to sound rich, complex and loud. Not extremely loud but enjoyable.
For Hindi Speakers:
Continue learning about FL Studio by clicking here to learn more about FL Studio Channel Rack.
Thank you! for checking out our article. If you like our content feel free to look at other related articles by clicking on the Training Menu or FL Studio Explained.
