How to use FL Studio Newtone plugin
FL Studio Newtone plugin is used to further correct the pitch of your song by going into detail and getting access to each note present in your audio clip. It is a stock plugin alternative to Melodyne.
Please click here to understand the basics of music theory and click here to understand how to do basic pitch correction with pitcher/autotune. You will need this information to divide deeper into pitch correction with Newtone.
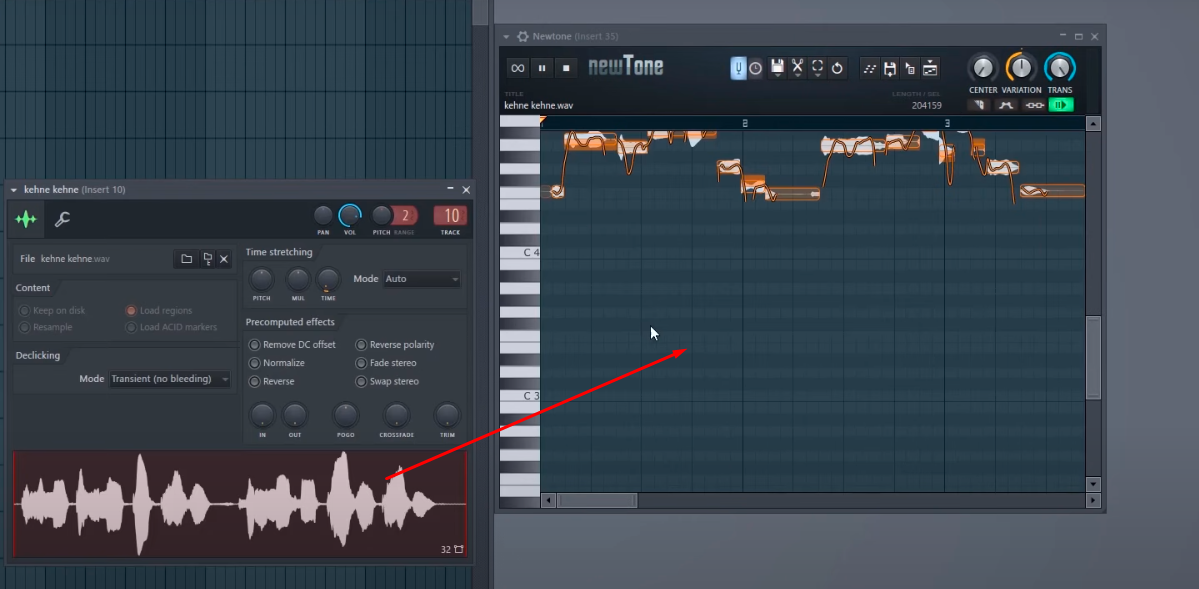
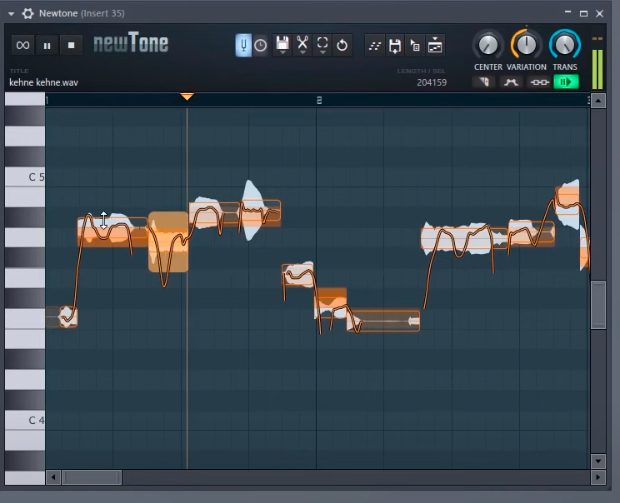
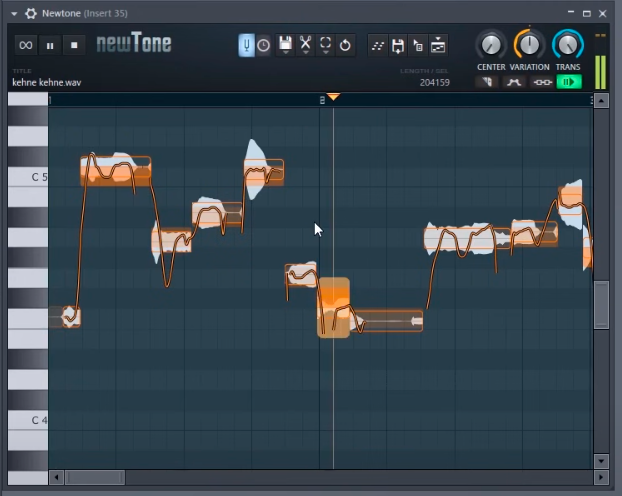
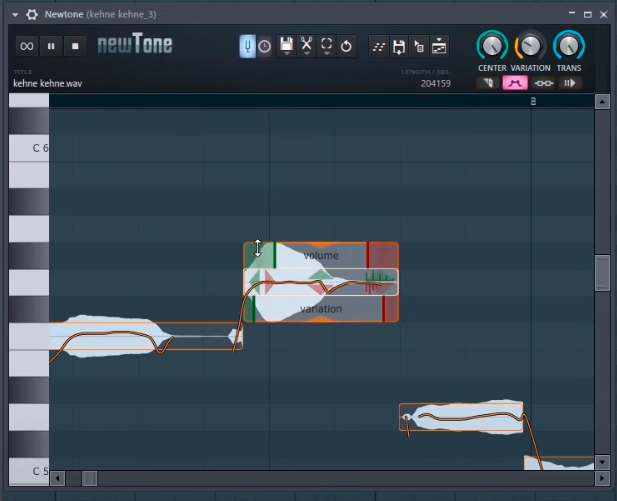
Once you see the notes in the interface move them up and down slightly to see if it sounds better. Remember not to increase the difference by too much or it might sound too robotic or even off-key. In the two pictures below you can see the notes being changed.
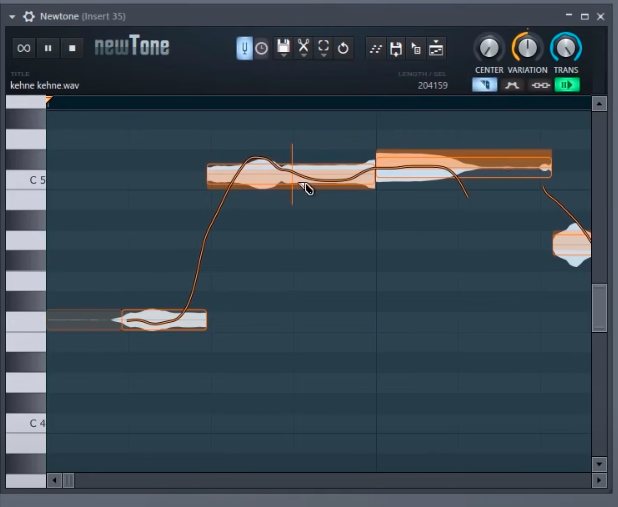
You can also cut the notes by using the cutting tool as selected below
Alert: Imagine Line can track down illegal FL Studio accounts. Buy an original copy below (affiliate link)
Below are the different saving options for your newtone file

1. This option will send the edit to the piano roll. You can further select FL Keys on that track in the channel rack. Piano notes will be there made with the analysis of your vocals in the piano roll.
2. Pick this option to save the edit as a wave file.
3. Use this option to drag the edit to a suitable position within the DAW.
4. Choose this option to send the edit to the playlist directly as an audio clip.
What if I want to change the position of notes horizontally?
Simply use the advanced edit tool and drag the note to the left or right where it sounds good.
For English Speakers
For Hindi Speakers
Continue learning about FL Studio by clicking here to learn more about FL Studio MIDI Importing & Exporting.
Thank you! for checking out our article. If you like our content feel free to look at other related articles by clicking on the Training Menu.
